


Table of Contents
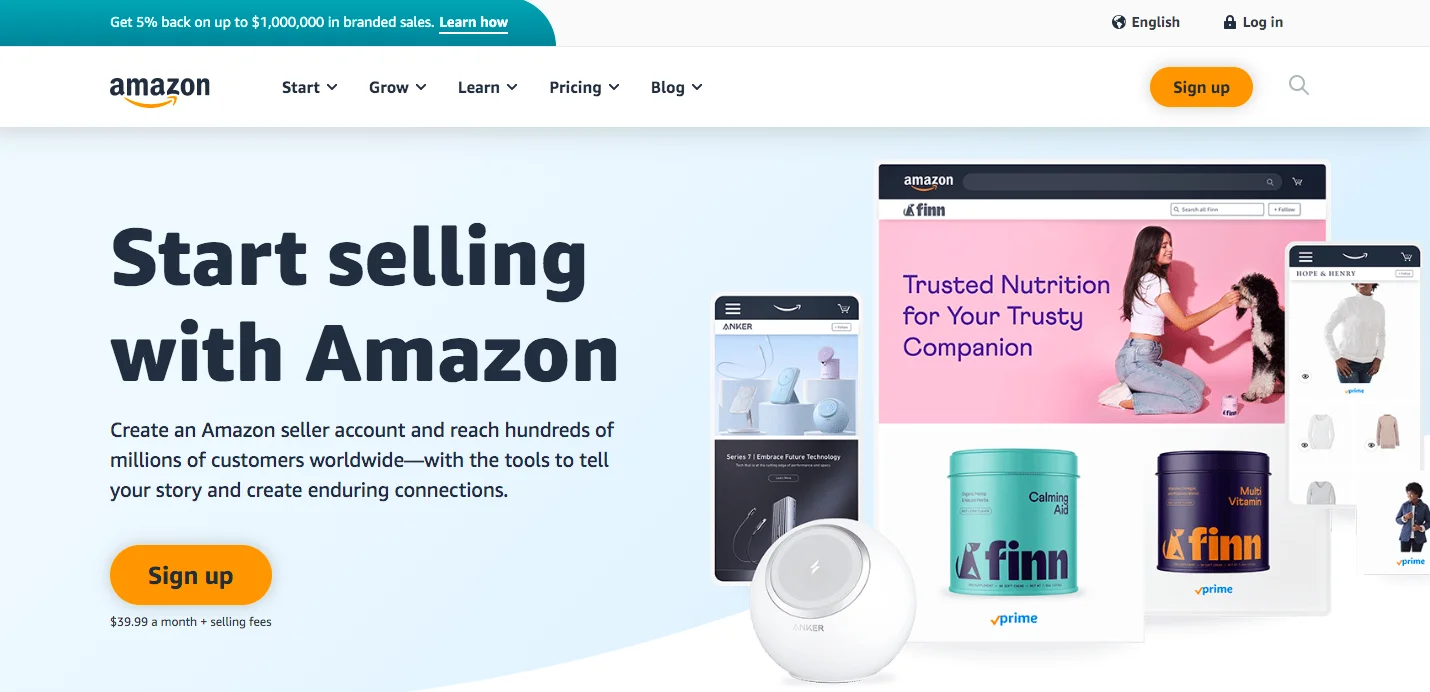
 Amazon constantly changes its process for making a seller account on the platform. Here, we will teach you how to create an Amazon account in 2023 — the year that you are likely to see the most sales on the platform.
You are also welcome to take a quick look at how to use Amazon Seller Central to start running your business right after you set up your profile.
Information You Require to Streamline Your Seller Registration on Amazon
While the registration process on the platform is pretty straightforward and may be completed within an hour or two, there’s some information you want to know in advance. While you may stop the registration procedure partway and get back to it later, it is much easier to gather the following info before starting the registration procedure:
- Your address, legal business name, and contact details.
- An email address that one can use for this company profile. It should be entered already, as you will start getting essential messages from AMZ almost instantly.
- An internationally chargeable card with a correct billing address. (If your credit card number is not correct, the platform will cancel your registration.)
- A phone number where one can reach you during the registration process (so keep your phone next to you during registration).
- The tax identity info (your business’ Federal Tax ID or Social Security number). To fill in your tax identity details, the registration procedure will take a short detour to a “1099-K Tax Document Interview,” where the tax information is verified and presented. The IRS requires AMZ to gather your tax ID information so the IRS can be notified of any potential taxable profits you make through the Amazon account. The actual responsibility of paying your taxes remains strictly yours, but the platform should report that you’ve been a revenue-collecting merchant during the past tax year.
Once you have provided all this info, you are a registered merchant on AMZ. Almost immediately, the platform will encourage you to begin listing your goods; once you list even one item, you become a “Launched” merchant instead of a “Registered, Not Launched” merchant. If you stay a “Registered, Not Launched” user, AMZ will email you a couple of times, encouraging you to create product listings. While the marketplace enjoys the $39.99 monthly fee from you, it is likely to earn much more money on referral commissions once you begin selling merchandise.
6 Steps to Create an Amazon Account
In this section, we are going to take a look at the steps to register as a seller on Amazon. Do bear in mind that a seller account on Amazon is different from a buyer’s account. If you have a buyer’s account, you still need to register to sell on the platform, however, you can use the same email address and password to do so. For this process, we are going to assume that you want to learn how to make an Amazon seller account for a business user as opposed to an individual or low-volume user (i.e. if you are planning to sell more than 40 products per month).
1. Head to AMZ Seller Services
To sell on Amazon, you need to go to https://sell.amazon.com.
2. Start the registration process
If you want to register for an individual seller account (i.e., not a business), then keep scrolling down until you find a link to register for an Individual seller account. This link is tiny, mainly because the platform is not trying to push that product. Follow the steps to set up an Amazon seller profile for private sellers.
If you are a business, you will see an orange button that says ‘Sign-Up.’ You will know it is the correct button because it will tell you that there is a fee for the account just below.
3. Sign in or create a profile
You can sign into it if you already have an Amazon profile here. It won’t be a seller account unless you go through the steps to create a seller profile, but it will help pre-populate some of the data, making the registration process a bit smoother. If you do not have one, you can create one at this stage.
4. Tell Amazon about your business
Amazon will ask you a few different questions about your business in the next few steps. You do not need to have a legally registered company to sell on Amazon, but it will help. After that, your life becomes much easier both on Amazon and beyond.
The information that you will be asked for here is pretty basic. You will be asked for your legal business name, address, and a few contact details. Nothing too crazy, and this is all information you should have to hand.
When you enter a telephone number, you will be asked to verify it via SMS. So, you must enter a real telephone number there, or you won’t be able to create an account!
5. Enter your payment details
There are two things that you will need to know here when you are setting up a seller profile:
- Credit card details
- Bank details
If you gave this to the markeplace when you made a buyer’s account, it’s likely to be filled in, but you need to ensure that the information is correct. If given a credit card or bank account for your business, use this. Do not enter personal details. It will cause issues when tax season rolls around.
The purpose of the credit card details is so that you can be charged the monthly fee for the services (i.e., $39.99 per month). The bank details are so that when you eventually make sales on the platform, you will be able to receive your payment. We can’t stress enough just how important it is to check these details to ensure that they are accurate.
6. Access your new seller profile
You will not be asked to enter any additional details at this stage. However, you may be asked to give more information like the number of sales that you make increases. It includes tax information. However, for now, you will have an account on Seller Central, and you can start to list and sell products on AMZ.
Is It Free to Create an Amazon Account?
It depends on the type you choose when you open a seller profile. You have two options available to you:
- Individual selling plan
- Professional selling plan
The individual selling plan account is free to create. It is a profile type that has been specifically designed for users who will be selling the odd product here and there, although businesses can also use an individual selling plan to peddle their wares. Whether you are an individual or a business seller, if you create an Amazon seller account on the individual selling plan, you will need to pay $0.99 for each completed transaction on the site. It is in addition to the referral fees AMZ charges (these vary based upon the category)
The professional selling plan is designed for high-volume sellers. If you are on Amazon and register as a seller on the professional selling plan, it will set you back $39.99 per month. However, there will be no $0.99 charge on completed transactions at this price point. You will only pay the standard referral fees. It means that the professional selling plan is fantastic for those selling more than 40 items per month.
Do bear in mind that if you plan on going down the Fulfillment by Amazon route later on, there will be additional fees that you need to pay.
How much do you need to pay to sell on Amazon?
What is great about running your business on Amazon is that you can start it without any initial investments.
Nonetheless, if you’re going to leverage the private label model, you will face sine costs necessary to buy your products before you actually sell them (at a higher price). However, it is not as expensive as you may think. Besides, without regard to your chosen method of fulfillment, there might be some extra fees involved in your seller account.
Below are some of the fees on Amazon that you may be supposed to pay:
- Referral fees: Amazon takes this fee as a commission for doing business on its platform. The charges vary depending on the category from 12 to 40%. The vast majority of goods have a referral fee of 15%.
- Individual seller fee: In this case, you need to pay $0.99 from each sale in addition to the referral fee. However, Amazon sellers only need to pay a per-item fee if they choose an individual seller account instead of the professional plan.
- FBA charges: If you are a member of Amazon’s FBA system, you’ll need to cover the delivery and handling costs for the platform. This usually amounts to nearly $3.00 for small products weighing up to a pound. The fees increase as the goods get larger or heavier.
- Other fees on Amazon: You may also be subjected to long-term inventory storage costs in case you use Amazon FBA, media fees when advertising DVDs, books, and so on, as well as advertising costs.
FAQ for Amazon Beginners
When will I be asked for tax information for a seller account?
If you followed our guide on creating an Amazon seller account, you will probably have noticed that we did not talk about adding tax details. This is because you will not be asked for them right away. Eventually, when sales get high enough (50 sales in the space of a year) Amazon will ask for them from you. It is always going to happen. This can either be your business tax number or your personal one. This is, of course, dependent on how you are running your business.
When does Amazon pay?
You will receive a payment from Amazon every 7 days. This will be paid directly to your bank account.
Can you change from an individual seller account to a professional seller account?
You can. In fact, for some businesses, it may be important. For example; if you are selling seasonal products and are unlikely to reach 40 units sold per month at certain points of the year, then you can switch to an individual seller account. Alternatively, you can also upgrade from an individual to a professional. Amazon makes the process dreadfully simple.
How do you sign up for Amazon FBA?
You can sign up for Amazon FBA once you have made your seller account.
Amazon Terms You Should Be Aware of
Read through its terms and conditions when you open a seller profile. Yes. It will be boring, but you need to know what is expected of you when you use the platform to register as a seller. In this section, we will look at some of the most important terms and conditions that can have a major impact on your Amazon business…just in case you forget to read those terms and conditions.
Contacting buyers
You are not allowed to contact buyers outside of the Amazon platform. Any messages you send to them should be done via the Amazon messaging service. If you are caught trying to take people away from the Amazon ecosystem, your profile will be banned. While it is unlikely you will be caught if you add a business card to orders you send out, it is generally not recommended that you do this.
You should also not have ANY links to your website when listing products. If you do, then you will be suspended.
Review manipulation
Tempted to give somebody an incentive to leave a positive review? Don’t do it. We know that some companies do this, but they will get banned eventually. Any form of review manipulation is a severe breach of the terms and conditions of AMZ.
It should probably go without saying that this term doesn’t just apply to your products. You can also not manipulate reviews of your competitors, i.e., no review bombing.
Account health
Your account health is vital for being successful on Amazon. You can check your profile health at all times at seller central. However, if it falls too far, then the terms and conditions of AMZ will prevent you from having a profile. It means that you need to pay attention to product shipping, return rate, cancellation rate, reviews, etc. In addition, you should track your account health round-the-clock to keep the business running smoothly. However, what about when you go for a rest? Learn more about seller vacation mode and how to make your profile operate automatically.
Product ranking manipulation
Improving the SEO of your Amazon inventory is fine. However, if you are a seller trying to boost your ranking through fake orders and the like, you will get banned from the marketplace.
Conclusion
As you can see, creating a seller profile is easy. The hard part is ensuring that you get your products appropriately listed. So, once you have registered for an account, have a play about with the settings and read some quality guides to ensure you can maximize your sales.
